 First of all, hellllllooooooo, I am officially back from my hiatus- It’s been about 6 months since I’ve done a post, but clients and friends keep asking and after all that’s the whole point of why I do this blog thing so I figured I’d get back into it and try to be more frequent. Somehow life got in the way and I put this on the furthest back-burner, Oops!
I have lots of fun stuff lined up but I decided to post first about flat irons! I’ve never really touched on this subject before which is silly because I feel like this is the hot tool almost everyone has and takes home from the salon!!
Despite wether we are using it for straightening or curling, I know a bunch of my clients frequently have a ton of questions with how to know which ones best for them! There’s so many choices, which is perfect seeing that we have so many different hair types! Here’s the low down from types of plates to sizes as well..
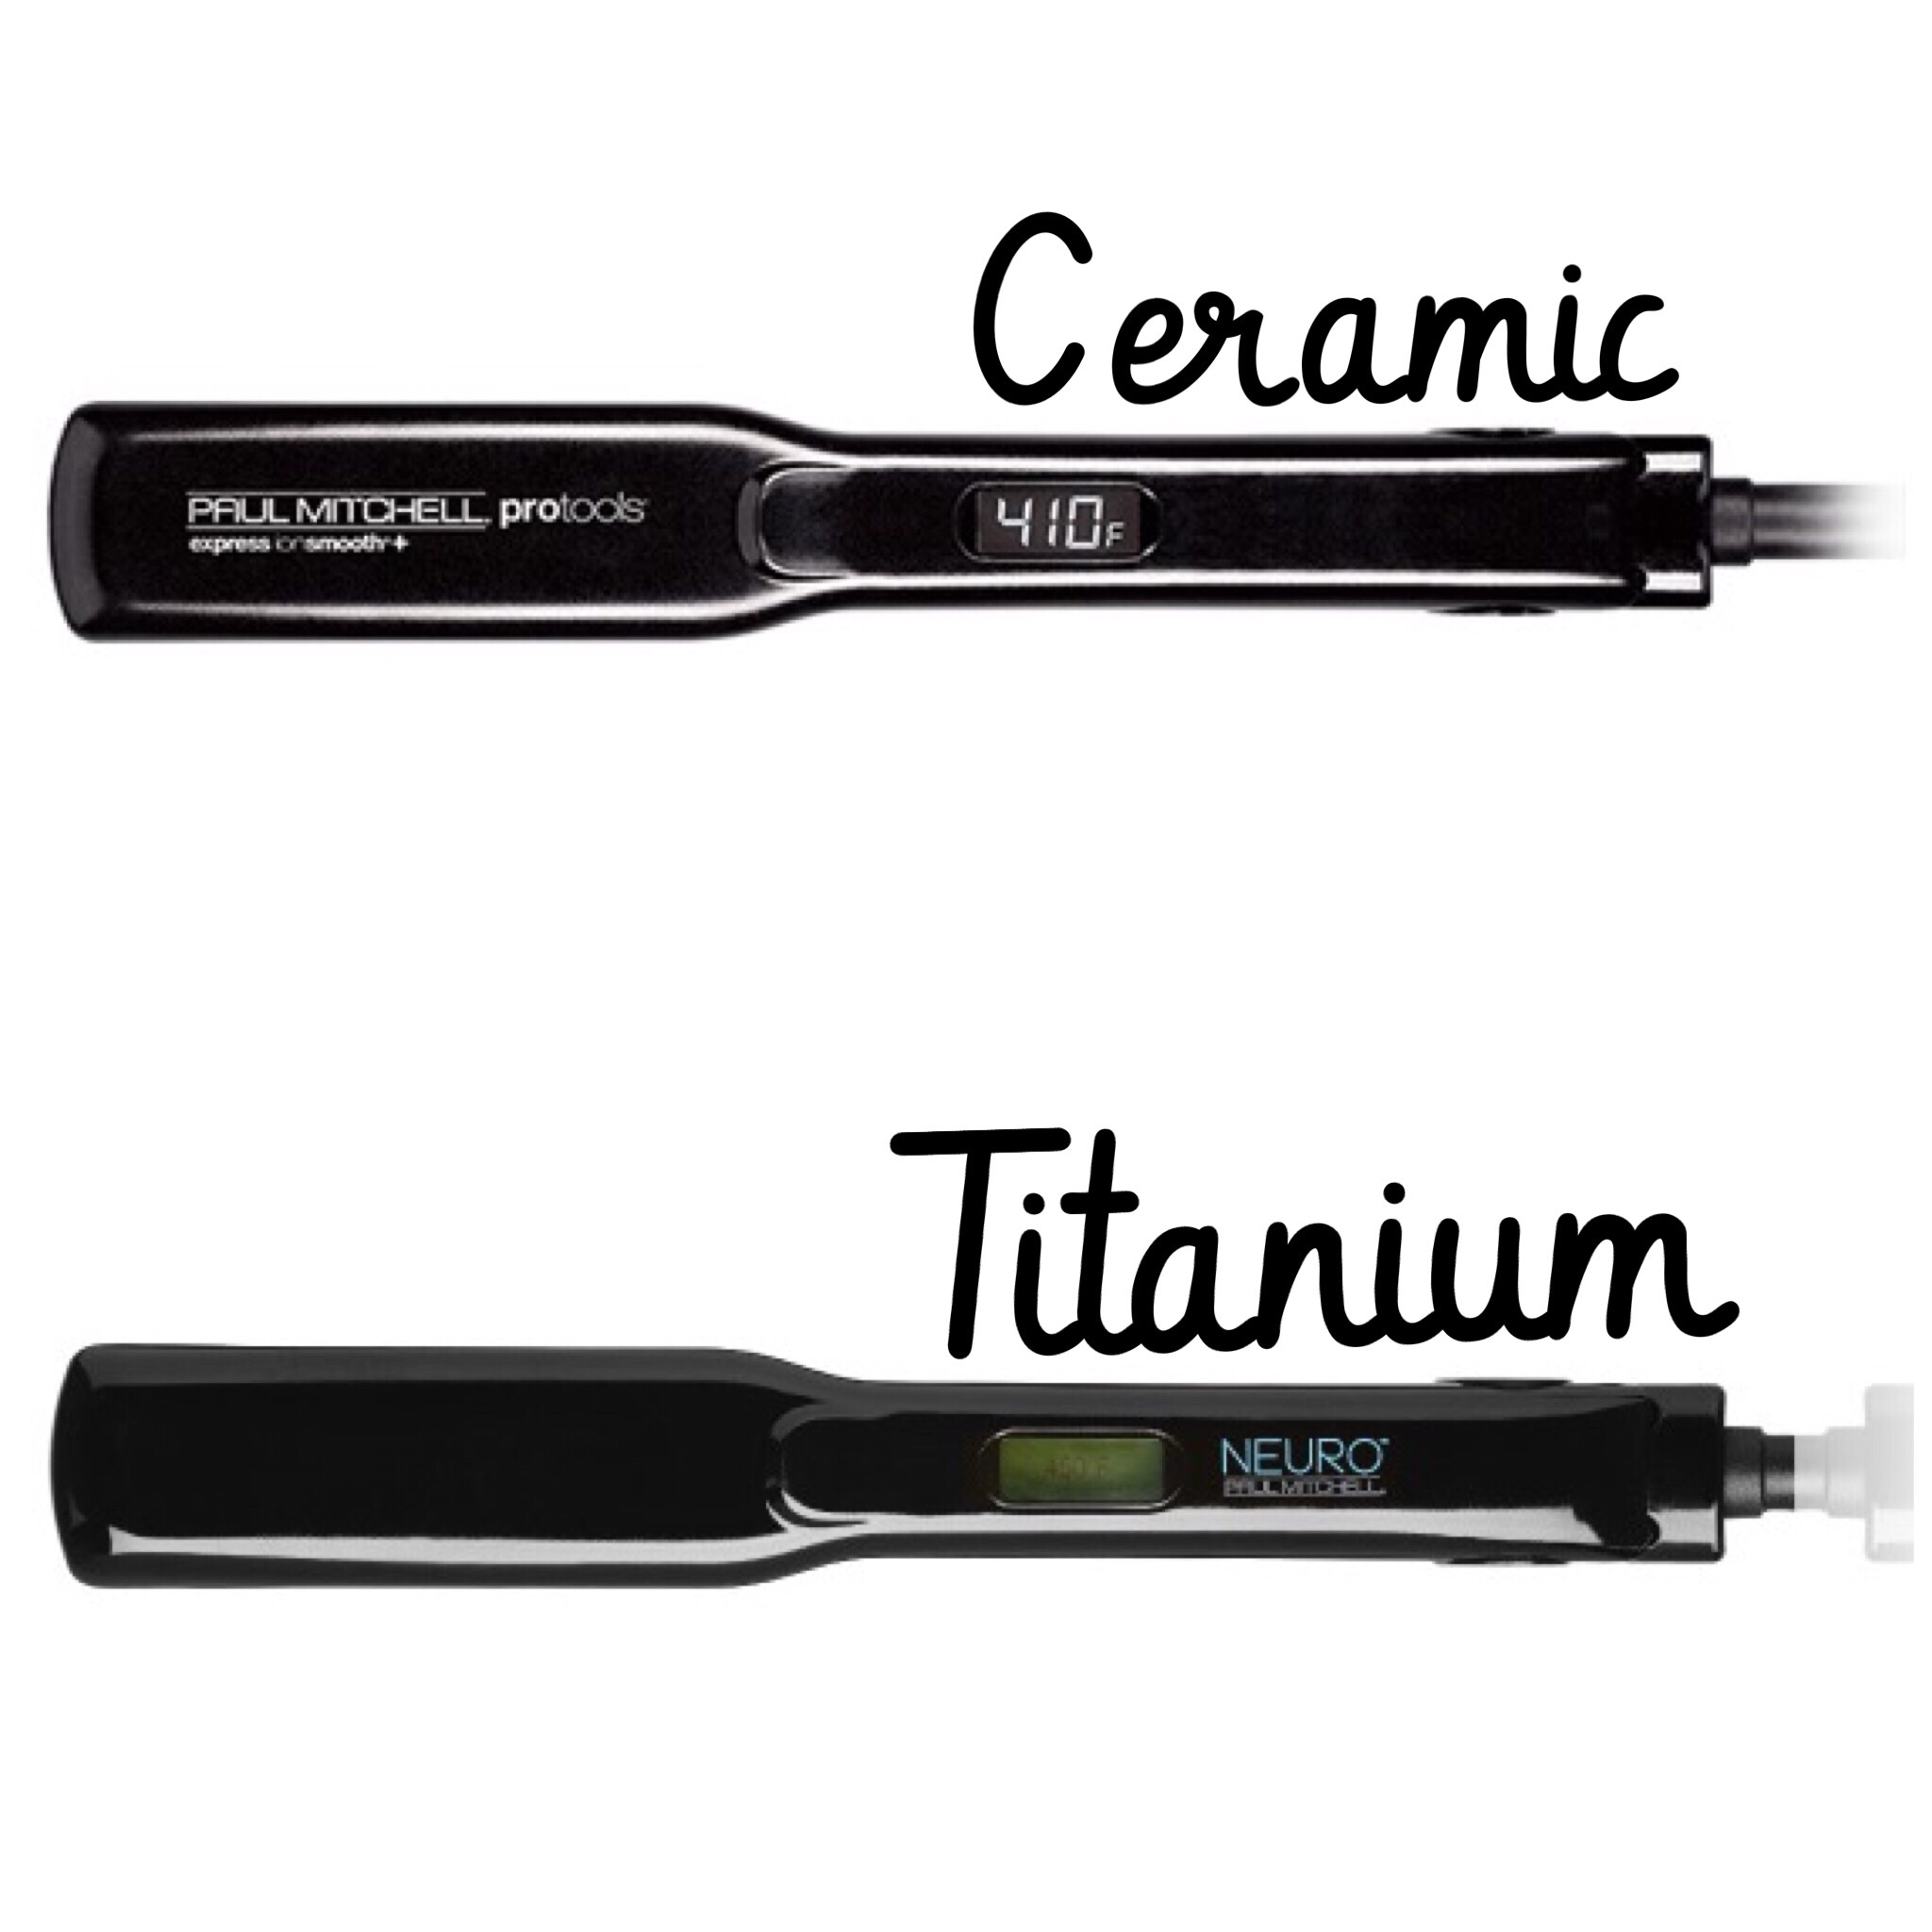
Ceramic
To me this is the most popular type. Ceramic plates allow for a even heat distribution without cold or hot spots, leaving you to be able to straighten your hair at a lower temperature. This is best for fine to normal hair types. Ceramic should normally only need to be used between 250-400 degrees (350 for blondes) and when purchasing you want to make sure the plates are FULLY ceramic for best results. otherwise, they can start to crack and pull the hair, doing more damage then necessary.
Titanium
This heats up fastest and the metal is smooth so it doesn’t snag your hair. The heat transfer from all the negative ions is quick and leaves your hair looking more silky smooth then ceramic. With that being said you have to be more careful with this type as to not burn your hair. This option is best for people with wiry, thick, coarse hair. Since this is made for those more stubborn hair types it can be used between 410-430 degrees. WITH CAUTION, and the WITH CAUTION is being exaggerated for good reason. Also, in my opinion no blonde needs to own one of these.
Tourmaline
This leaves hair more shinny, straight, and less fizzy. Tourmaline is a crushed mineral that titanium and ceramic flat iron plates are coated with. This is best for medium hair types, be it thin or thick that suffer with frizz and static. Should be used between 350-400 degrees.
Now on to sizes, mostly the rule should be the thinner the hair the smaller the iron and vice-versa.
We have mini flat irons, which I have to say (since I am here to be truthful with you people) I am not too big of a fan of. The only people I could see really needing this are people with pixie cuts. Other then that some people say they like them for styling their bangs and what not. My opinion is if your hair cant fit in a regular flat iron you probably don’t really need to be using one, unless your my dad circa 2007 and think your hair should be spiked to the celling… A.K.A do yourself a favor and don’t.
You then have your 1″ flat iron, these are really great for people with fine hair that sits around and right under their shoulders. If you don’t have a ton of hair you don’t need some big ol’ flat iron.
The 1 1/2″, the most popular and my personal favorite size for a good head of #chelseycurls! This is your go to for people with normal hair types that lays past your shoulders. Mostly everyone from medium, thick and course hair.
Lastly, you have your 2″. This is the one you have to pull out for the thick, course and unruly hair types. Ethnic hair also benefits from this size iron.
Obviously, being a hairdresser I have to get on you people about protecting your hair as well. I recently read that hair burns at the same temperature as paper, that’s at 450 degrees. There is honestly no need in my opinion for anyone that is not a licensed cosmetologist to be using anything over 400 degrees. You have to think this is our hair, the only hair we have might I add, and we are putting these hot tools on it almost every single day. Products come into play here. EVERY, SINGLE, PERSON, that is reading this blog owns some sort of hot tool, and every single person that is reading this blog should own some type of heat protectant. Putting 300 degrees+ of heat on our hair causes some sort of breakage and dryness over time! Take it from me, my hair has had moreeee then its fair share of being pathetic because I have the job where I have to stare at myself in a mirror all day and feel the need to screw with it at LEAST 10 times over.
Last but not least, were shelling out big bucks for these things. THEY NEED A GOOD CLEANING EVERY NOW AND THEN, Id try to clean mine at least once every month or two! Grab a few cotton balls, rubbing alcohol and a warm damp cloth. When your flat iron is completely cool- and obviously, unplugged, dip the cotton balls in some alcohol and use them to clean the plates following up after with the damp cloth. If its really gunky grab a toothbrush or magic eraser and get the tough spots with that!
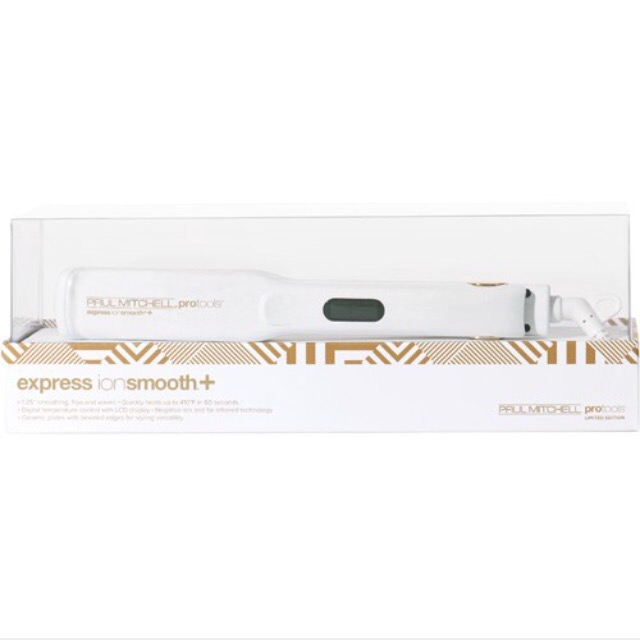
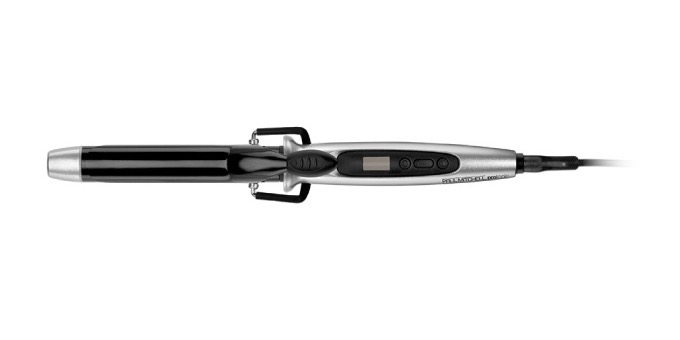
Hopefully this little bit of info can help you guys when picking out your irons! Here’s my favorite Ceramic pick and Titanium pick, both from Paul Mitchell. These can be found online or at H2O on Metairie road.
XoXo, Chelsey Rae

 Medium round brush- Amazing for getting volume on the rounds of your head as well as smoothing out shorter lengths of your hair, like your bangs or the area of hair around our ears that always seems to be a tad fizzy! My favorite is by Paul Mitchell.
 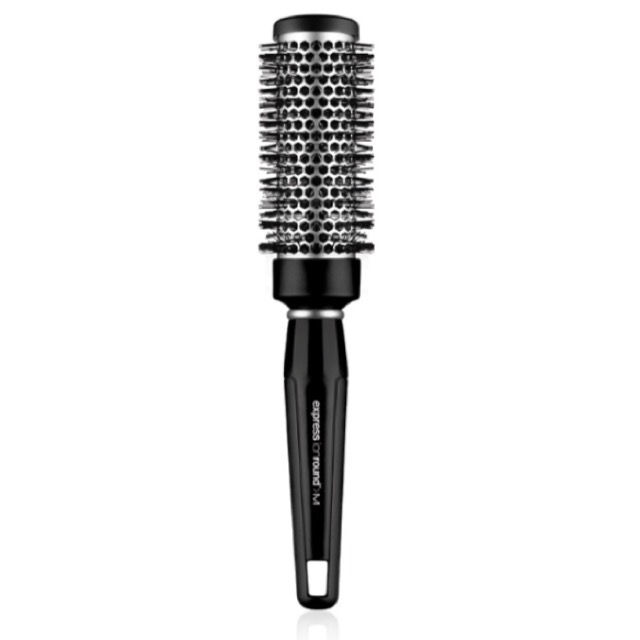 Large round brush – Use for smoothing out the rest of your lengthier hair and rounding out the ends. Both this and the medium have venting in them that help your blowdry go faster. Again, this is by Paul Mitchell.
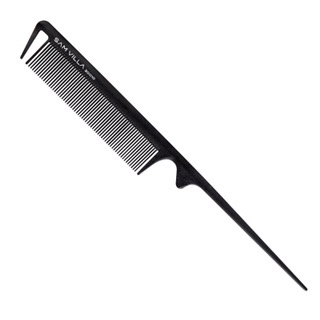
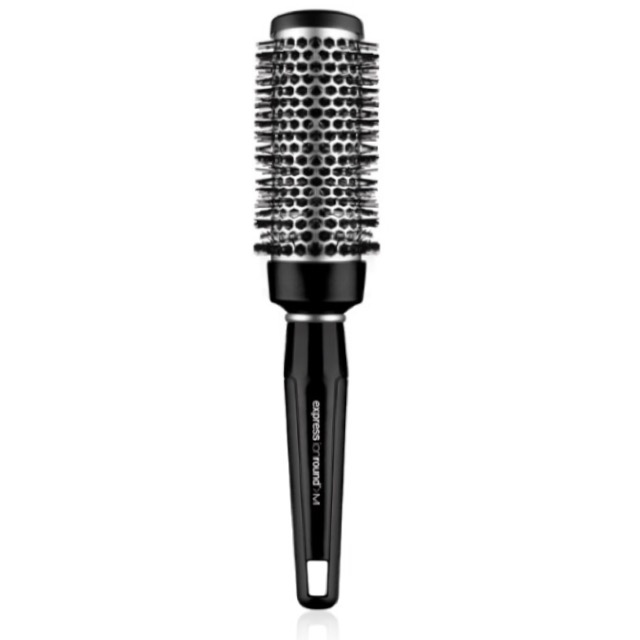 Teasing brush- Used for teasing as well as smoothing out the hair over your tease. My personal favorite is, you guessed it, Paul Mitchell.
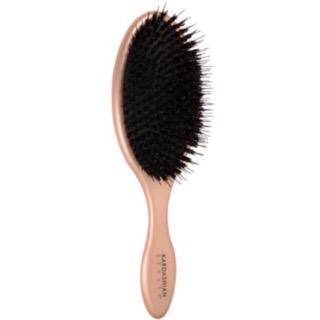
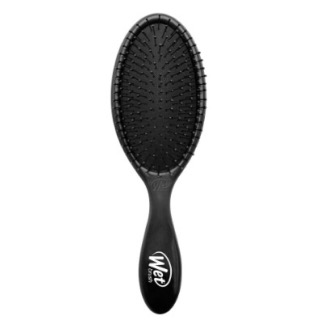
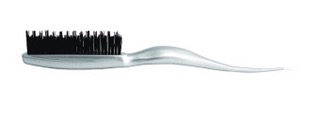 Boar bristle brush- I love this for making your hair look shiny and silky! This is my favorite type of brush to brush my curls out with because it gives them a major volume filled look! This one from the kardashian’s line can be found at Macy’s.