Category: Hair

Your huge hair care mistake & my latest product obsession

So lately I can’t help but realize how many of mine and the stylists around me clients are making a major mistake, we are all guilty of wanting a deal but in lots of instances that’s not always the best route to take. HEAR ME OUT: Lots of my clients walk out the door saying they will buy their shampoo on Amazon, they have seen the big bottles at costco or “oh I get my Paul Mitchell from cvs” What many of you guys don’t realizes is these products are expired, tampered with or full blow counterfeit. 

Let me share a few experiences/things I’ve came across …  I never knew that beauty products have a expration date, maybe that’s the clueless in me butttt, THEY DO! There is a little circle thing on the back or bottom of the bottle on any beauty product that has how many months it’s good for- It’ll say 12M, 6M, or however long! so, these places that are selling salon guaranteed products are putting old expired products on their shelves in old packaging and leading you to believe your buying legit stuff!

A few years ago when I was in hair school at Paul Mitchell they came in and told us all this stuff about places selling their product, if you see it on the shelves you call Paul Mitchell and they go pick it up from cvs, Walgreens, ect. I was thinking to myself during the discussion, “this is so bs” of course they want people to think that and only buy in salon! Well walking though cvs one day I decided to see if all this talk was true…Paul Mitchell sells a product called “the conditioner” it’s blue, when I opened the top of “the conditioner” in cvs, it was white. Not blue. FAKE! I was pretty shocked that they actually were right, salons that are going out of business (or just trying to make a extra buck) will fill their empty bottles with junk and sell in bulk to drugstores. 

And lastly, within the past week one of my very good clients recently said her hair hasn’t felt as good, “what are you using?”, “Kerastase” being her answer … “Well you haven’t bought kerastase from me”.  “Amazon” she replies, ding, ding, ding! Of course I proceeded to give her this whole fabulous lecture and she was like oh my gosh I thought the consistency of the product felt different! The even better part was when we discussed prices she was maybe spending like two dollars less, that’s so not worth it! And addressing the Costco issue, these big bottles they are selling? They are back bar bottles, they are for stylists in salon to use in a shampoo room, Whyyyy would Costco have them? Oh because they are in the company’s packaging that changed 4 years ago and they probably sat on some salons shelves for forever! 4 year old products on your hair? GROSS!

Anyway people lets get real, you wouldn’t buy discounted mac makeup from anywhere other then Mac and put it on your face right? Then why would you spend tons of money on your haircut or color and then go buy yuck i.e. Fake or old shampoo and put it on your hair?!

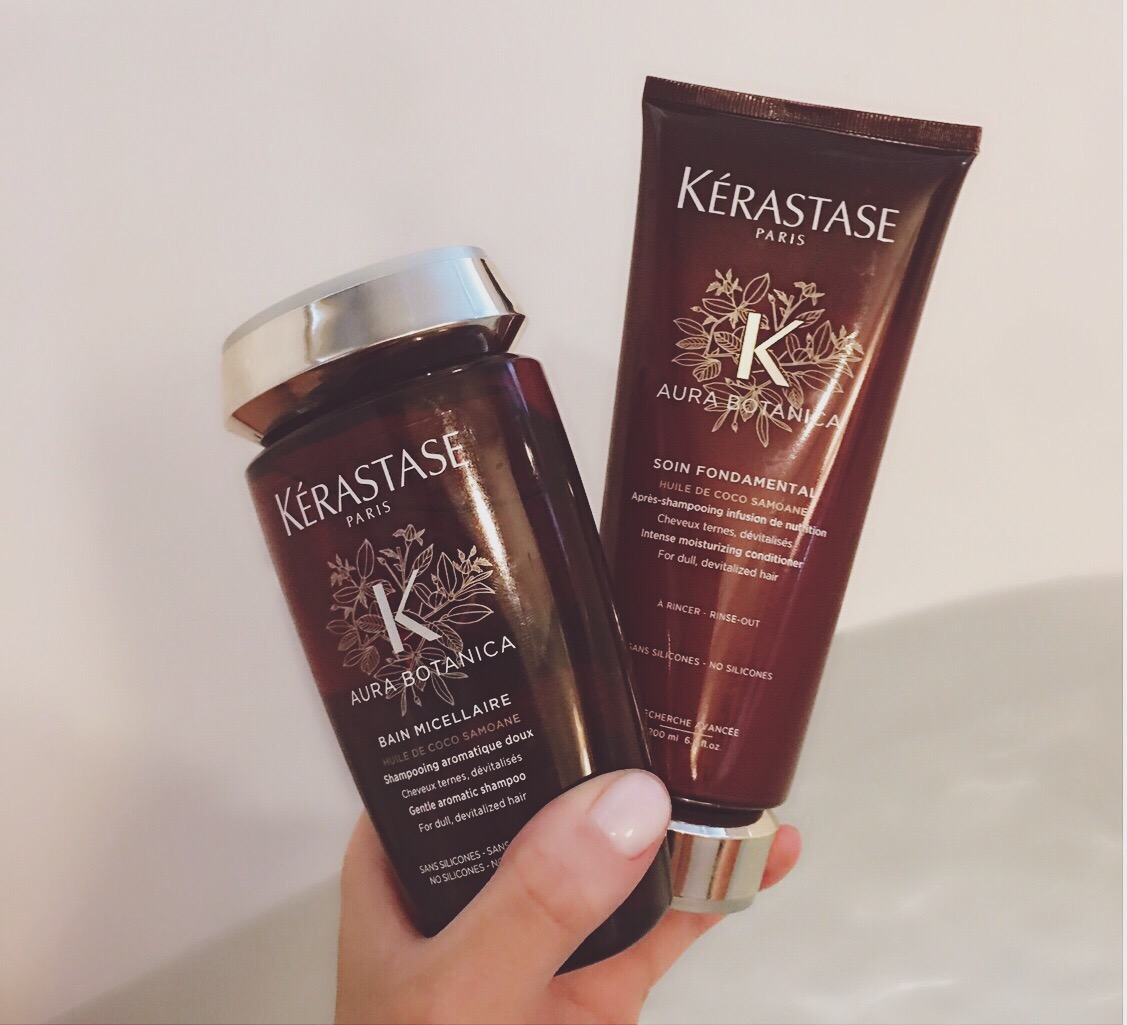
Now moving on, let me RAVEEEEE about my new obsession. Kerastase is always amazing, but I’ll be honest I’ve never felt like any of their shampoos/conditioners smell amazinggggg or have a smell that lasts, untilllll nowwww! I’ve been using their newest line Aura Botanica and I loveeee it, so much so that I’ve been bathing with it and using the conditioner as lotion when I get out the tub pahaha! I can not get enough! 


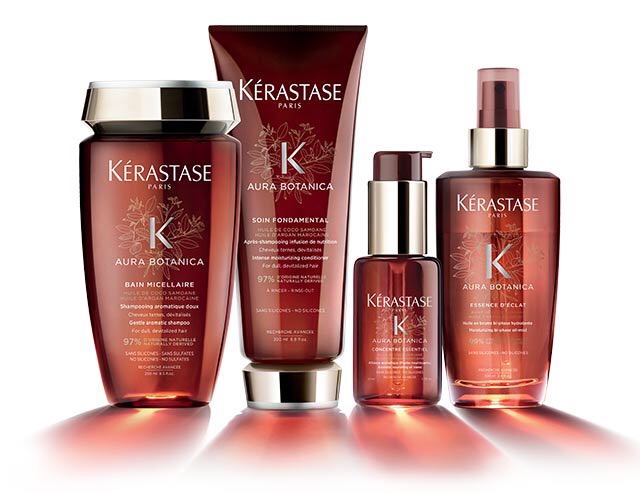
On top of the fabulous smell, it has marrocan argon oil, (ya know everyone is so big on marracon oil now) which helps fight fizz, a.k.a. this Louisiana weather, for up to 72 hours! It’s 96% all natural and has no silicones, sulfates or parabens! Since I’ve been using it my hair feels super soft, i’ve been getting more compliments, and this is all I’ve been using different so I know that’s what it is! When I was doing a little product research I saw it has rose water in it and that explains a lot because I loveeee anything with rose water! 

Bottom line of this whole post, we spend tons of money on our haircuts & color, it’s on our heads and in my opinion is our most important accessory! So spending a little extra money on salon quality shampoo should benefit you & your locks in the long run, wether it’s the Paul Mitchell or kerastase price range, you can’t go wrong! 
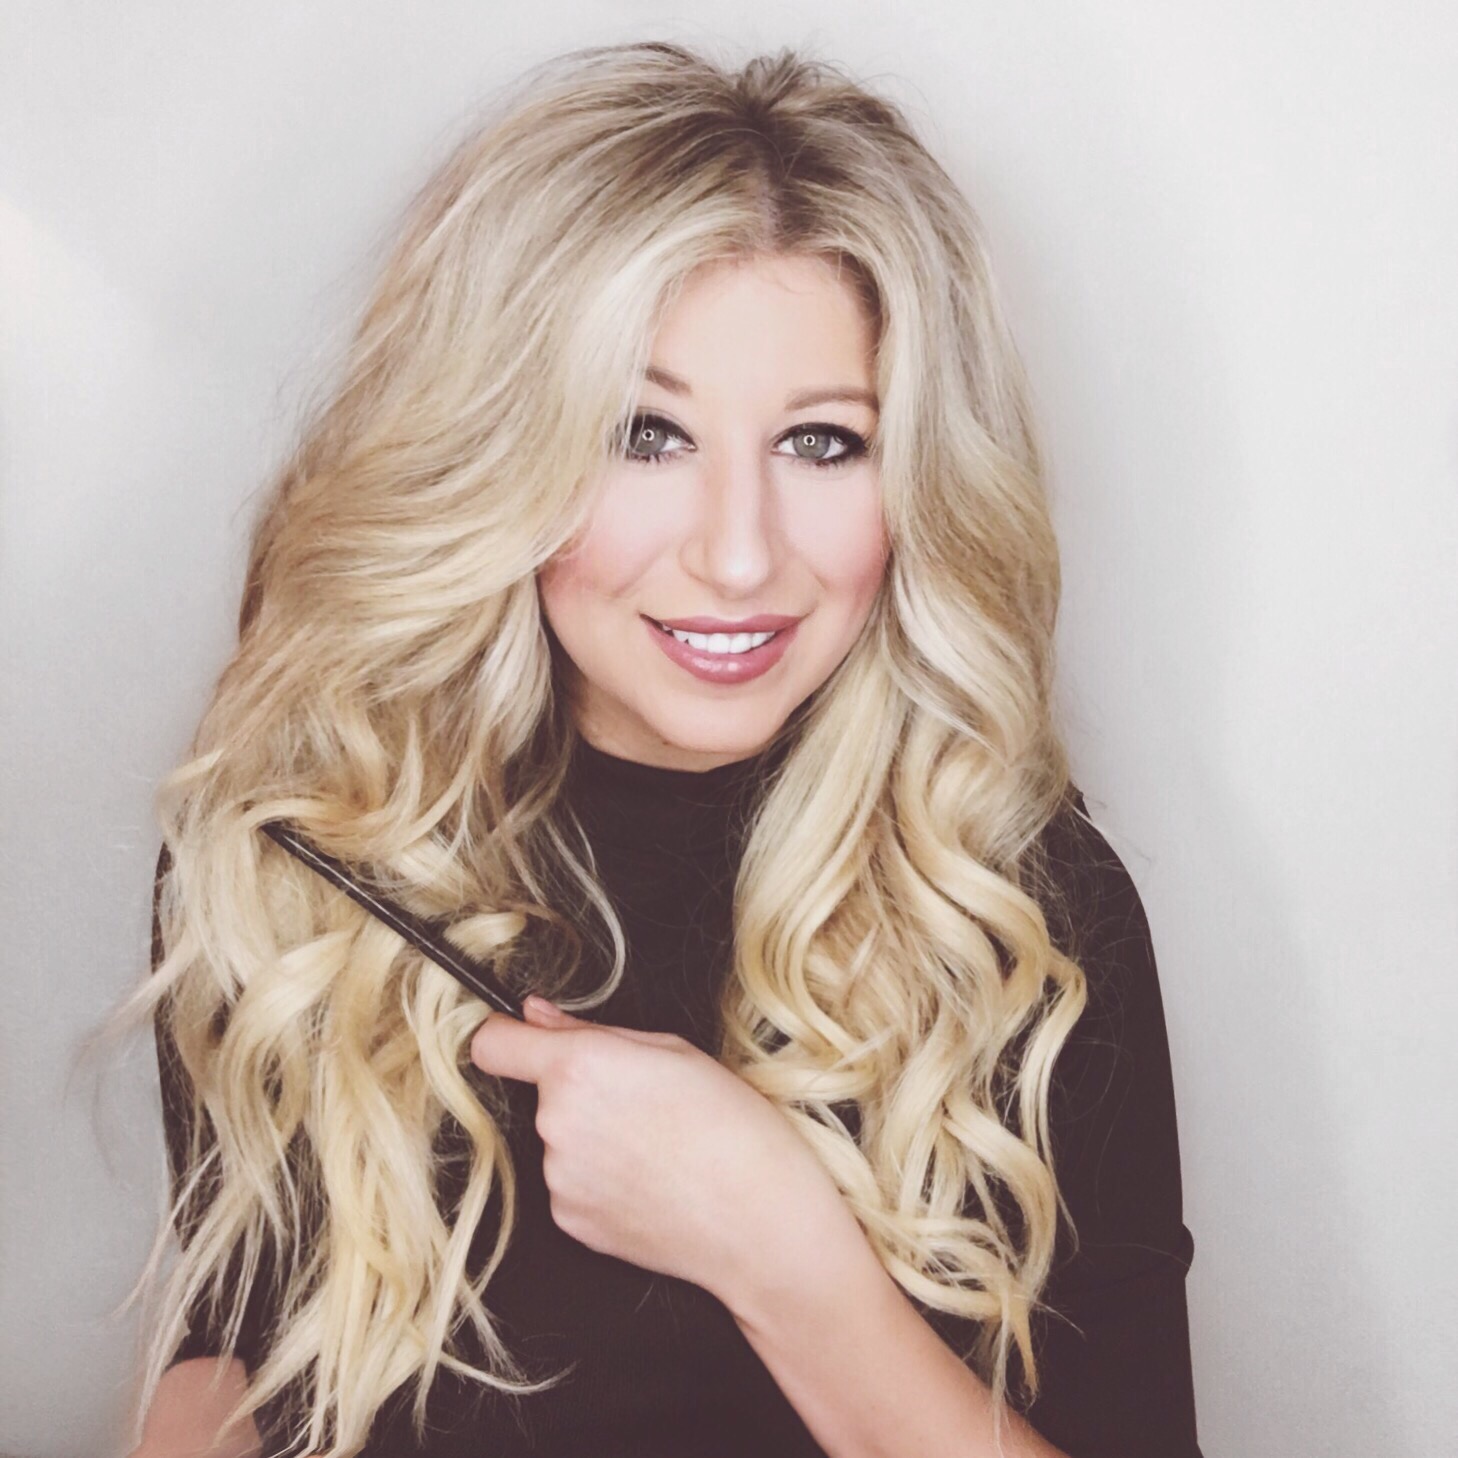
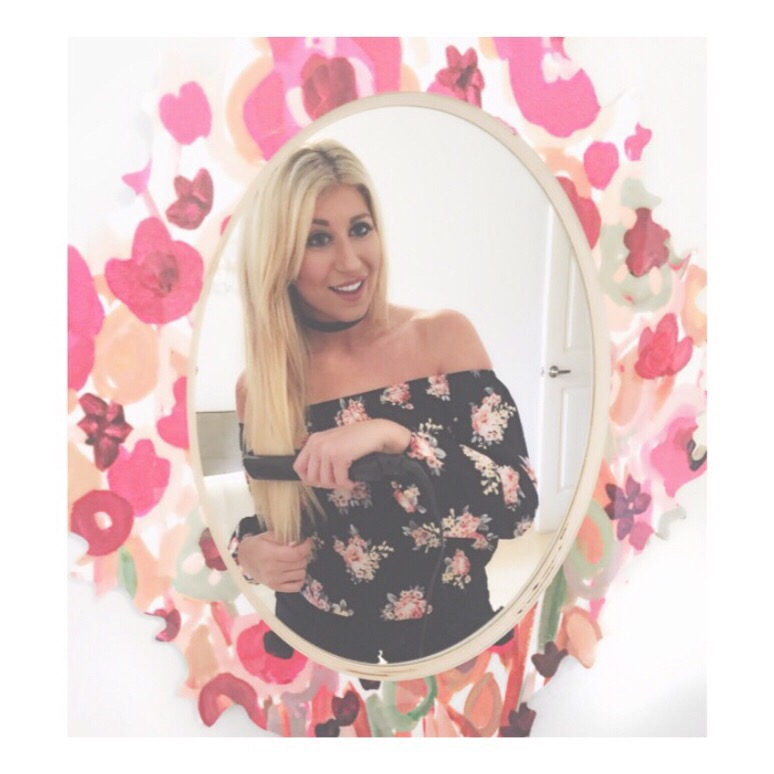
XoXo, Chelsey Rae 

Learning to “Chelsey Curl”

IMG_8545

Hey yall, its been forever – my usual opening response on here! Life’s been crazy (another normal statement in my opening) and I’ve had a lot of big amazing changes going on! I’ve recently moved and things are starting to settle in, so with my new normal routine starting to come together I really plan to take some time each week to get back into posting regularly or even more than regularly for me because I would love to share more hair, fashion, food & home decorating/diy things with you guys!

Anyway, with all that being said, lets cut to it get to the main attraction!

I have FINALLY got it together & officially made a #CHELSEYCURLS TUTORIAL, with the help of the H2O team of course! Getting it on my website however has been a little sketchy, so for some reason you have to CLICK THE LINK BELOW TO VIEW and it will pop up on your phone!

CHELSEY CURLS TUTORIAL

Let me know what you guys think or if theres anything else i could do to make it more helpful & be on the lookout for another #chelseycurls giveaway veryyyy sooonn!

P.S. I may have cried for a few days because I feel like I have a double chin every time I speak in this video, butttt I then pulled it together and watched a few Jessie James Decker videos where she has one sometimes too, so I then felt better – Don’t Judge me!

HAPPY CHELSEY CURLING

XoXo, Chelsey Rae


Facebook lovin’

Processed with VSCO with s1 presetHello to all my fabulous clients, friends & family! You guys make my clientele/career what it is today – so much so that I want more people just like you in my chair! I’m inviting all you beauty’s to LIKE & SHARE my new Facebook business page “Chelsey Rae Hair” (which can be found under the “places” tab). I am GIVING AWAY a Paul Mitchell 3-in-1 CURLING WAND to any current clients, that like, share, & leave a review. Along with GIVING AWAY one #CHELSEYCURLS service to anyone that likes & shares that is not already a client of mine/H2O’s! The winner of both will be drawn and announced on Saturday the 29th! Whether you’ve been with me for the past 9 years or even the past month, I am so thankful for each & every one of you guys that make my time behind the chair so enjoyable & I can’t wait to meet more of YOUR family & friends! Let the giveaway, sharing, & fun begin #chelseyraegiveaway

Processed with VSCO with s1 presetXoXo, Chelsey Rae

giving away #chelseycurls

Hi lovelys! I’ve promised I’d do a class for “Chelsey Curls” for a while now, life gets crazy and it seems the best way to get this out there is to get with you guys one on one! I am so thankful for all my amazing clientele and your loyalty that I want to teach you guys how to recreate the hair you leave my chair with! I am also so excited to meet some new faces and take on your heads of gorgeous hair! 
I’ve decided to give away one spot a day Tuesday through Saturday from now till February 18th to both existing & new clients for a complimentary 45 minute Chelsey Curls lesson!

Appointments will be booked in the order emails are received – Those interested please send your name, cell number, and days/times that best suit your busy schedules to chelsey@chelseyrae.com and I will contact you via text to get you on the books!! 

XoXo, Chelsey Rae 

Quick bobby tips

For any of my sistas that have trouble getting their bobby pins to stay – did you know you can give them a little grip by spraying them with either a dry shampoo or an aerosol hairspray? If that’s not cutting it make sure the side of the bobby pin that has ridges is the one that’s going against your scalp, the straighter side is slicker and won’t grip as well! 

Also, when putting hair half-up/half-down two bobbys are more then sufficient. Inserting the bobby pins in and “X” shape and interlocking the ridges make it even more secure then a pony which will tend to slip! 

XoXo, Chelsey Rae 

The brushes you need in your life

So many brushes = So many decisions! Here’s my list of the different brushes every girl needs in their life!

Wet brush- This brush is great for detangling, extensions, and using as a wet brush when combing through conditioner on every single hair type! Little ones love this also because it doesn’t hurt when getting knots out, it’s the “magic” bush! My favorite is the Original wet brush and they have tons of cute colors! 

Medium round brush- Amazing for getting volume on the rounds of your head as well as smoothing out shorter lengths of your hair, like your bangs or the area of hair around our ears that always seems to be a tad fizzy! My favorite is by Paul Mitchell
Large round brush – Use for smoothing out the rest of your lengthier hair and rounding out the ends. Both this and the medium have venting in them that help your blowdry go faster. Again, this is by Paul Mitchell.

Teasing brush-  Used for teasing as well as smoothing out the hair over your tease. My personal favorite is, you guessed it, Paul Mitchell.

Boar bristle brush- I love this for making your hair look shiny and silky! This is my favorite type of brush to brush my curls out with because it gives them a major volume filled look! This one from the kardashian’s line can be found at Macy’s


Parting comb- Also known as a “rat tail” comb, this makes your partings even and easy! Also I tend to like to tease with this more then the teasing brush if were being honest here, the teeth make more of a tight base with your tease!bmy favorite is by Sam villa

Happy brush buying! 

XoXo, Chelsey Rae

Flat Iron 101

First of all, hellllllooooooo, I am officially back from my hiatus-  It’s been about 6 months since I’ve done a post, but clients and friends keep asking and after all that’s the whole point of why I do this blog thing so I figured I’d get back into it and try to be more frequent. Somehow life got in the way and I put this on the furthest back-burner, Oops!

I have lots of fun stuff lined up but I decided to post first about flat irons! I’ve never really touched on this subject before which is silly because I feel like this is the hot tool almost everyone has and takes home from the salon!!

Despite wether we are using it for straightening or curling, I know a bunch of my clients frequently have a ton of questions with how to know which ones best for them! There’s so many choices, which is perfect seeing that we have so many different hair types! Here’s the low down from types of plates to sizes as well..

Ceramic
To me this is the most popular type. Ceramic plates allow for a even heat distribution without cold or hot spots, leaving you to be able to straighten your hair at a lower temperature. This is best for fine to normal hair types. Ceramic should normally only need to be used between 250-400 degrees (350 for blondes) and when purchasing you want to make sure the plates are FULLY ceramic for best results. otherwise, they can start to crack and pull the hair, doing more damage then necessary.

Titanium
This heats up fastest and the metal is smooth so it doesn’t snag your hair. The heat transfer from all the negative ions is quick and leaves your hair looking more silky smooth then ceramic. With that being said you have to be more careful with this type as to not burn your hair. This option is best for people with wiry, thick, coarse hair. Since this is made for those more stubborn hair types it can be used between 410-430 degrees. WITH CAUTION, and the WITH CAUTION is being exaggerated for good reason. Also, in my opinion no blonde needs to own one of these.

Tourmaline
This leaves hair more shinny, straight, and less fizzy. Tourmaline is a crushed mineral that titanium and ceramic flat iron plates are coated with. This is best for medium hair types, be it thin or thick that suffer with frizz and static. Should be used between 350-400 degrees.

Now on to sizes, mostly the rule should be the thinner the hair the smaller the iron and vice-versa.

We have mini flat irons, which I have to say (since I am here to be truthful with you people) I am not too big of a fan of. The only people I could see really needing this are people with pixie cuts. Other then that some people say they like them for styling their bangs and what not. My opinion is if your hair cant fit in a regular flat iron you probably don’t really need to be using one, unless your my dad circa 2007 and think your hair should be spiked to the celling… A.K.A do yourself a favor and don’t.

You then have your 1″ flat iron, these are really great for people with fine hair that sits around and right under their shoulders. If you don’t have a ton of hair you don’t need some big ol’ flat iron.

The 1 1/2″, the most popular and my personal favorite size for a good head of #chelseycurls! This is your go to for people with normal hair types that lays past your shoulders. Mostly everyone from medium, thick and course hair.

Lastly, you have your 2″. This is the one you have to pull out for the thick, course and unruly hair types. Ethnic hair also benefits from this size iron.

Obviously, being a hairdresser I have to get on you people about protecting your hair as well. I recently read that hair burns at the same temperature as paper, that’s at 450 degrees. There is honestly no need in my opinion for anyone that is not a licensed cosmetologist to be using anything over 400 degrees. You have to think this is our hair, the only hair we have might I add, and we are putting these hot tools on it almost every single day. Products come into play here. EVERY, SINGLE, PERSON, that is reading this blog owns some sort of hot tool, and every single person that is reading this blog should own some type of heat protectant. Putting 300 degrees+ of heat on our hair causes some sort of breakage and dryness over time! Take it from me, my hair has had moreeee then its fair share of being pathetic because I have the job where I have to stare at myself in a mirror all day and feel the need to screw with it at LEAST 10 times over.

Last but not least, were shelling out big bucks for these things. THEY NEED A GOOD CLEANING EVERY NOW AND THEN, Id try to clean mine at least once every month or two! Grab a few cotton balls, rubbing alcohol and a warm damp cloth. When your flat iron is completely cool- and obviously, unplugged, dip the cotton balls in some alcohol and use them to clean the plates following up after with the damp cloth. If its really gunky grab a toothbrush or magic eraser and get the tough spots with that!

Hopefully this little bit of info can help you guys when picking out your irons! Here’s my favorite Ceramic pick and Titanium pick, both from Paul Mitchell. These can be found online or at H2O on Metairie road.  


XoXo, Chelsey Rae

Lovin’ lived in…


 We’ve all been through the bayalage, ombré thing, blah blah it all somewhat looks the same to me but as of now the lived in look is taking over – it’s not only perfect for someone who’s wanting a more natural vibe but it’s good for your pocket book as well. The fact that this is my profession means I probably shouldn’t be sharing with you guys ways to save money when it comes to your color (because I REALLY like to shop) but I keep it real so, oops!  

First let me explain what lived in is all about, this is using your natural base or a darker base as a root and going off of that with different hues of lighter pieces. These light pieces are super small, some starting a few centimeters away from the root and some starting a few inches below, scattered to create a blended and natural look, this all fading into a tab bit more lightened bottom!

 With that being said, here’s the low down on the benefits of going “lived in”.

It’s keeping your visits to the salon a little less frequent. If your lucky enough not to have gray, your looking at being able to drag out your visits with me out to a maximum of 6 months. SIX MONTHS people, that’s one time this year for color. Of course you should pop in for your normal 6-8 week trim in order to keep your ends looking fresh. For people with gray unfortunely you have to stick to your normal 4-6 week routine. 

Lived in looks good in any color! I love this whole concept because it can take your boring one dimensional hair color and turn it wayyyy up a notch. This look is amazing for blondes, brunettes and my red heads. With the light prices being so thin it’s a great way to add lots of lightness to any color without looking tacky.

It’s actually keeping your hair a little more healthy. This look is fabulous because your never really processing your whole head of hair! Some people are able to go off of this with their natural hair color. In most cases We’re only lightning the perimeter of your head and the top where your hair falls, this leaves a lot of your hair untouched, equaling less processing/damage. For those that don’t go off of their natural haircolor this is great because you only need to come in for root touch ups every other time, leaving all the rest of your hair unprocessed. This is also saving you a little money in between as well. 

We’re all loving the somewhat “rooty” thing right now and I think its perfect for fall!! It leaves you having a rich color on top with pretty pops of lightness through out, creating a gorgeous dimensional head of color! 

 Lastly, I always suggest to bring pictures to your stylist to be able to explain what you love or hate, along with the realization that every head of hair is different! Your hair and the models hair that’s been photoshopped 100 time over is not the same… Although we would all loveeeee if that were the case of course!
XoXo | Chelsey Rae 

Let’s be anti-clean hair…

I am definitely the poster child for a dirty head of hair, although no one can ever really guess I haven’t washed it in a week! I absolutely hateee washing it and I hateeeee how it looks the day of! My hair does so much better dirty and you’d be surprised that yours could too! Now my 5-7 day stint may be a little much for newbies but everyone should at least be waiting it out to every other day or every 3 days, even my workout fiens!

Here’s  6 things that may start happening if you give the washing a rest…. 

1. Your color will last longer. 

The more your hair touches water and gets shampooed with sulfates the more your color will fade. Simple as that. 

2. You’ll have less split/dry ends.

When you wash your hair it aggravates the cuticle, the shampoo and warm water blows it open. So unless your sealing it properly this can cause your hair to actually end up being LESS healthy. 

3. Your hair will learn to be LESS oily.

You read it right, this is kinda like teaching your hair to act right! At first this may be a toughy but once your scalp gets used to its new routine it will stop producing so much oil, your scalp is doing that to compensate for the dryness it experiences from you stripping it of its natural oils each and every day! 

4. It might not smell like the best thing ever. 

So firepits and cooking a roux with the holy trinity involved may not be the best place to hang around when we aren’t washing! But, hellooo, that’s why we invented dry shampoo! Sometimes I like to spray a little and dampen my hair around my bang area, I then reblowdry for a good refresher (this is done when my gym sessions get a little more intense then normal and I actually sweat). Here’s 3 of my favorite choices for dry shampoos Shu Urmura volume makerPssst Dry ShampooKerastase Powder Bluff.

5. Getting ready in the morning will be a simple process. 

No having to wash, means no having to dry for a hour. I NEVER spend longer then 5 minutes on my hair in the morning, okay maybe 10. I touch up a few pieces or if I sleep wild the whole thing & roll. 

6. Your hair will stay better and have more bounce/body. 

Some shampoos can strip hair of all its natural needs, this overtime can actually end up leaving your hair limp and thinner. Super soft hair never stays in place so it’s hard to get it to do things like staying in a cool braid or some up some down. When your hair has a little bit of grit to it, it makes it a pinch rougher and leaves it styling so much better.

Moral of the story, hairs better all around when it’s a little dirty! Trust me, I’m a professional!

XoXo | Chelsey Rae

7 Curling iron mistakes you’re makin’…

 I’m a sucker for big, wide, fat curls. Who isn’t after all?! We all know I’m infamous for that “chelseycurl” with the flat iron, but in all honestly a lot of my clientele has trouble getting that down and tend to opt for the curling iron. There’s nothing wrong with that, and sometimes I myself, am a fan of a voluptuous head of curling iron curls, they look a little bigger, sexy & more glamorous.

So let’s cut to the chase….Here’s some common mistakes you’re making with your curling iron that aren’t giving you your best curl:

1. You’re using the wrong size barrel.

If your finding your hair isn’t holding a curl it’s probably because your using a curling iron that’s too large. Most people think the bigger the barrel the bigger the curl. In my book, it’s the bigger the barrel the faster your curl will fall before you walk out the door and the grumpier you’ll be all night. Size totally matters when it comes to your hair, a 1inch curling iron is the perfect universal size to me, if you want a bit of a bigger curl use a larger amount of hair. One inch sections are usually my go to, just a FYI. 

2. You’re starting from the bottom of your hair and curling in the wrong direction, I.E. Shirley Temple.

This is cute when you’re six, not when you’re 26. Start at the root when you clamp, this gives you more volume as well. Most of the time we want a more natural sexy look, this means we curl everything AWAY from the face. You’re going to be winding the hair down and around the wand of curling iron in a clockwise direction on the right and counter clockwise on the left. For those with the long bob going on, or those that want a more messy beachy look, that’s when you are going to want to alternate directions of curls throughout the head, but still leave the front inch around the face curling AWAY from the face and to the back of the head. This is soooooo vital. 

3. You’re using a curling iron you got on clearance at CVS or Sally’s. 

My famous words, you want your hair to look how it looks when professionals do it? Then you need to use what the professionals use. There’s a reason why it works. End subject. Here’s the iron I recommend relentlessly, Paul Mitchelle express ion curl.4. Your misusing the clamp.

I loved when they came out with the curling wands. It was the funniest thing ever to me, helllllooo, did anyone catch on that you can just wrap your hair around the barrel of your curling iron you already own and not open the clamp? Voilà, you have your very own two in one wand/curling iron. However, by using the clamp you can create many different looks. When going for more glamours curls, make sure the ends of your hair are tucked under the clamp. If you’re going for a more messy/beachy look, you’re going to leave about 2inches of the ends of your hair OUT of the clamp. Or, as I said before, forgo the clip all together and wrap hair around as you would a wand. 

5. You’re holding the iron on for too long or not long enough. 

The little trick I like to use is after about 3 seconds touching my hair on the outside of the curling iron to make sure it’s warm. This brings us back to sectioning as well…if your taking too big of a section your not giving your hair the opportunity to have the heat evenly distributed. We’ve all seen the YouTube video where the chicks hair falls out, don’t be that girl, there’s no need for this to be held on your hair any longer then 10 seconds and steer clear of the highest setting, it’s unnecessary. 

6. You’re not prepping your hair. 

Brings me back to #3 – want it to look how it looks when we do it? Use what we use. Herbal essences ain’t cutting it as a styling product. I love to use a moose like Kérastase’s Densimorphose or Shu Uemura’s Ample Angora and evenly distribute from scalp to ends with a wet brush before I blow dry. We could all use a little extra texture. People with a more fine head of hair that see they have trouble holding a curl should spray a layer of hairspray BEFORE curling the hair, running a wet brush through after so it’s moveable & spraying a layer on even during or after cooling (see below).

7. You’re not cooling your curls and are running your fingers through them right away.

My number one pet peeve- let it chill! If you want your curls to stay you have to let them cool in the shape you let go of them in. I always let my hair sit while I do my make-up then I run my fingers through my hair right after I get dressed or even before I leave the house. Sure, I look like Shirley Temple for a hot minute while I get ready, but it’s only my dogs who get to see it ; ) 

Hope these easy steps help some of my girls that struggle with curling, always remember you can give you hair any shape you want if you work it the right way! 

XoXo | Chelsey Rae